
STAND MIXER PRETZELS: RECIPE AND TIPS
The craving for a chewy crust and soft, pillowy interior of a soft pretzel can hit any time. Fortunately, these tasty treats are relatively straightforward to make, requiring just a few ingredients and some basic know-how. With a KitchenAid® Stand Mixer, you can streamline the process, ensuring an even knead and achieving the perfect colour, texture, and flavour every time. Dive into this guide to learn the secrets of soft pretzel making and uncover exciting dip ideas.
How Does Pretzel Dough Stand Out?
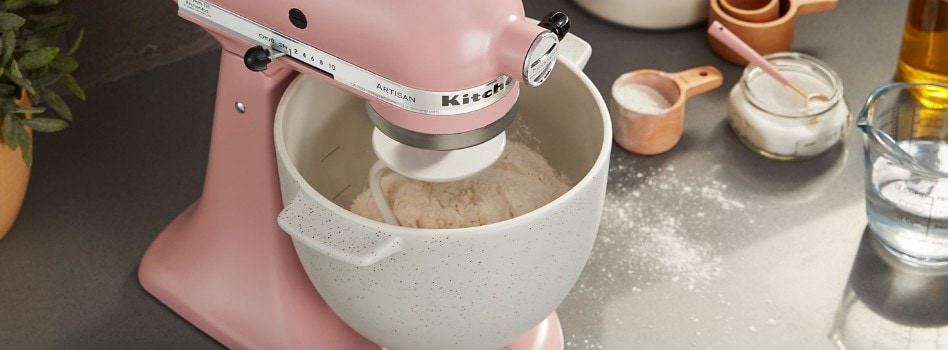
While pretzels share some similarities with homemade bread and bagels, such as the type of flour used, they are unique in their texture and flavour. Unlike bagels, pretzels owe their unique texture and taste to a baking soda bath before baking. This 30-second dip into an alkaline solution gelatinises and partially cooks the pretzel dough's exterior before baking, limiting its rise during the baking process. This critical step ensures the signature golden-brown, chewy crust of the pretzel, preserving its soft and fluffy interior.
Step-By-Step Guide to Stand Mixer Pretzels
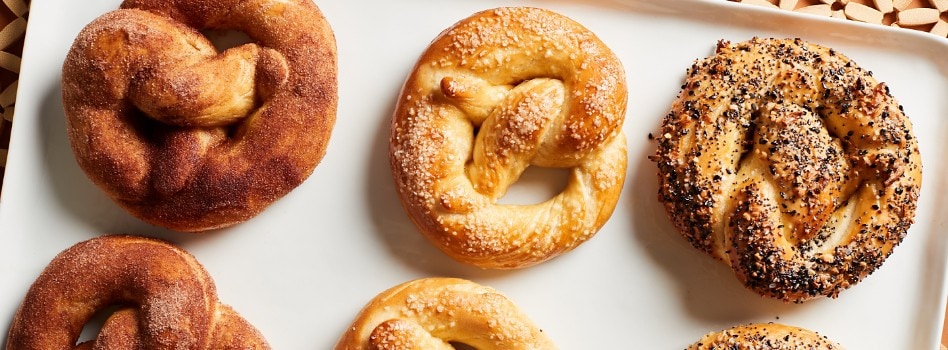
Basic soft pretzels offer the perfect platform for exploring diverse flavours and toppings. Below is a comprehensive 12-step recipe to help you make homemade soft pretzels, along with tips to ensure the colour, texture, and flavour are just right. Using a
INGREDIENTS
- Water
- Active dry yeast
- Brown sugar
- Salt
- All-purpose flour
- Baking soda
- Butter
- Egg(s)
- Coarse kosher salt (optional, for basic salted pretzels)
- Sweet or savory toppings (optional)
PREP TIME
- 48 minutes
TOOLS
- KitchenAid® Stand Mixer
- KitchenAid® Dough Hook Accessory
- Large sheet pan(s)
- Pastry brush
- Parchment paper
- Measuring cups/ spoons
- Large skimmer
BAKE TIME
- 12 minutes
TOTAL TIME
- 60 minutes
Step 1: Baking Preparation
- Preheat your oven to 232°C (450°F) and line two large sheet pans with parchment paper. If you want to avoid pretzels touching while baking, do not put more than four on a tray. If you don't mind, you can separate them later for a more rustic look.
Step 2: Activate Yeast
- Combine brown sugar, water, and yeast, then gently whisk the ingredients together. Allow the yeast to bloom for three to four minutes. For best results, use lukewarm water, and ensure the yeast is foamy and smooth before adding it to the other ingredients.
Step 3: Mix and Knead Ingredients
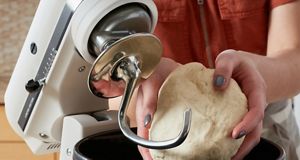
- Add flour and salt to your KitchenAid® Stand Mixer Bowl. Secure the KitchenAid® Dough Hook Accessory and set the mixer speed to four. Pour the yeast mixture into the bowl while it mixes. Let the dough knead for four to five minutes until it is smooth and slaps against the bowl sides. The KitchenAid® Sifter + Scale Attachment can provide additional precision, accurately measuring, sifting, and adding ingredients directly to your mixer bowl.
Step 4: Allow Dough to Rise
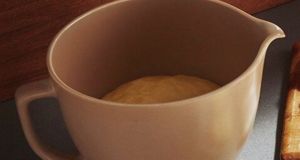
- Coat the inside of a large glass bowl with cooking spray. Remove pretzel dough from the mixer bowl and shape it into a smooth ball. Put the dough into the glass bowl and cover it tightly with cling film. Let it rise for the next 30 minutes.
Step 5: Dough Rolling
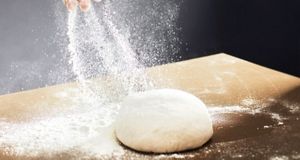
- Lightly spray your countertop with cooking spray to ensure some stickiness between the dough and countertop, then divide pretzel dough into eight even pieces. Roll each piece into a 55-60 cm (22-24 inch) long rope. If the dough continually snaps back, partially roll out each rope first, let the dough rest, then return to roll each rope completely.
Step 6: Shape the Dough
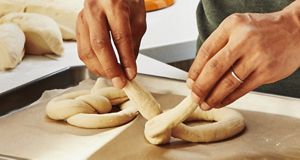
- Next, shape each piece of dough into a pretzel. Hold an end in each hand and draw both ends upward into a "U" shape. Twist the ends around each other twice, then fold the twisted part onto the bottom of the "U" shape and press the ends into the dough to form a pretzel.
Step 7: Pretzel Soaking
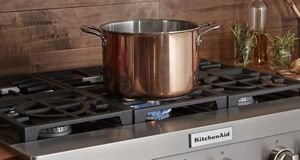
- A baking soda bath is crucial for achieving the classic deep brown colour and chewy crust of a soft pretzel. To prepare, bring 4 cups (950 ml) of water to a boil, add baking soda, and whisk vigorously. Soak 2-3 pretzels in the water for 30 seconds each, retrieve them with a large skimmer, allow the excess water to drip off, and place them onto the prepared baking sheets.
Step 8: Apply Egg Wash
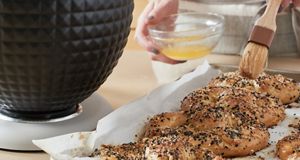
- Lightly coat the pretzel dough with an egg wash using a pastry brush. For optimal results, dilute the eggs with a liquid like milk, water, or cream. Egg washes with more fat will typically result in a darker, less glossy finish, while those with less fat will create a lighter, shinier colour.
Step 9: Add Toppings
- If you're baking traditional soft pretzels with coarse salt or an "everything" pretzel with toppings like dried minced garlic, onion, sesame seeds, and poppy seeds, sprinkle these on before baking. For sweet variations like cinnamon or sugar, apply toppings after baking.
Step 10: Bake
- With the egg wash and toppings applied, put the pretzels in the oven and bake for 10-12 minutes. They should be deep brown and glossy when finished, but this can vary depending on your egg wash composition.
Step 11: Butter and Top

- Remove the pretzels from the oven immediately and brush generously with butter on both sides. For cinnamon sugar pretzels, combine sugar and cinnamon, then roll the buttered pretzels in the mixture until evenly coated.
Step 12: Serve Fresh or Store

- Soft pretzels are best served warm straight from the oven, but they can be stored if necessary. Like other bread types, soft pretzels store best in a bread box or paper bag that allows some air circulation, preventing them from becoming soggy. They can be kept at room temperature for up to 3 days. If there are leftovers, consider using them in recipes like pretzel croutons, pretzel chips, or pretzel bread pudding. Alternatively, the baked pretzels can be cooled and frozen for up to 3 months in an airtight and freezer-safe container.
Kneading Technique for Pretzels
Kneading soft pretzel dough thoroughly is necessary to maintain its structure and create a fluffy interior. Activated yeast combined with other ingredients and kneading develops the gluten necessary for a successful bake. Although you can knead the dough manually, a KitchenAid® Stand Mixer or KitchenAid® Food Processor can provide a more efficient and even kneading.
Why Soak Pretzels Before Baking?
Pretzel dough needs a brief soak in baking soda or lye to attain its distinct colour, flavour, and texture. This short pre-bake soak boosts the exterior's alkalinity, enabling rapid browning while retaining a soft, doughy interior and creating a crusty, chewy exterior.
Can Sweet Pretzels Be Made?
While salted soft pretzels are classics, sweet soft pretzels offer a delightful alternative. Top your soft pretzels with mini chocolate chips, cinnamon and sugar, caramel drizzle, and more for an irresistible treat.
Creative Dips for Your Soft Pretzels
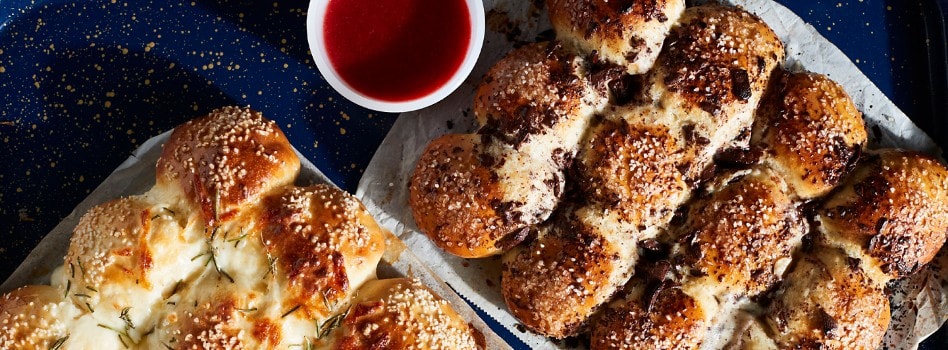
The possibilities for soft pretzel dips are endless. From cheesy shrimp dip or spicy queso for savoury pretzels to homemade cream cheese frosting or nut butter for sweet ones, the choice is all yours.
Can I Make and Freeze Pretzel Dough in Advance?
Although fresh dough is always best, it is possible to make and freeze it in advance. Pretzel dough can be made ahead and frozen for up to 3 months so you can spend more time experimenting with dips and toppings. You should freeze dough in an airtight, freezer-safe container and thaw it overnight in the refrigerator. Remove the cold dough from the refrigerator, roll and twist it into a pretzel shape, then allow the dough to proof for about an hour before immersing it in boiling water and baking soda and baking according to your recipe.
Master Pretzel Making with the KitchenAid brand
Your perfect pretzel is no longer just a dream; it's a reality you can easily achieve in the comfort of your own kitchen! With the help of a KitchenAid® Stand Mixer and KitchenAid® Dough Hook Accessory, preparing this mouthwatering treat becomes a delightful culinary experience. Unleash your inner baker and enjoy the thrill of creating soft, fluffy pretzels that are flawlessly kneaded and oh-so delicious.
